

Written April 15, 2013
In the previous article, Let’s Go Upstairs, you got a glimpse of the banister that was replaced. David Griggs, the master craftsman who did this fine job, agreed to take some more detailed pictures of his process in his work space than I was able to capture at home. Thanks, David!!
There were three main parts of this restoration process.
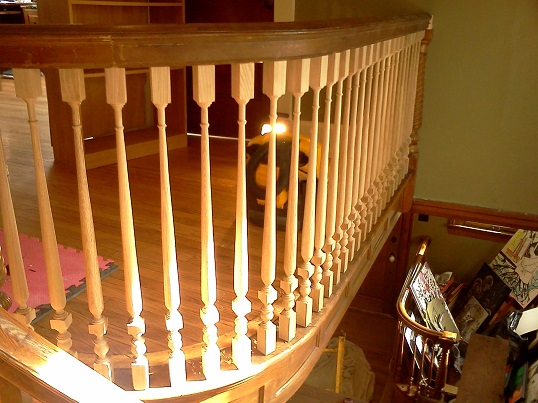
First, the handrail. If you recall, the entire banister had been removed and replaced with a divider unit, separating the downstairs from the upstairs to make it a two-family home.

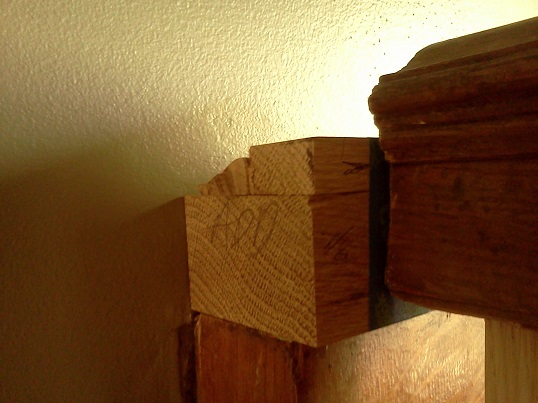
You can see the original banister end piece still attached to the wall. The handrail had literally been cut away from it. You may also notice the markings in the floor where the former balusters used to be.
When that unit was removed, we placed a lovely two-by-four in its place to serve as a bit of a reminder for everyone milling about not to get too close and fall down to the stairs. Once we moved in we had to get a little more creative to keep two dogs from catapulting over the edge and so it was blocked with boxes and shelves. No pictures of that scene are available. I guess I was a little busy during that time period.

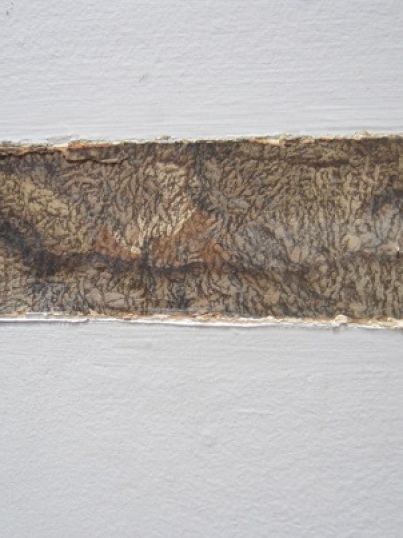
In the above photo you can also see the line along the wall and ceiling where the unit had attached. Here is a photo of the close up of that line. It’s the wallpaper that was there prior to the unit’s installation in the 1930’s or 1940’s.
Continuing on with the banister…when digging through the basement debris, Joel luckily uncovered the original handrail. We were thrilled! It was in sorry shape having been initially cut away in two pieces from its original location and having split over time from the damp basement conditions.


Dum da da dum!! David to the rescue! He pieced and glued that primo piece of wood back together.


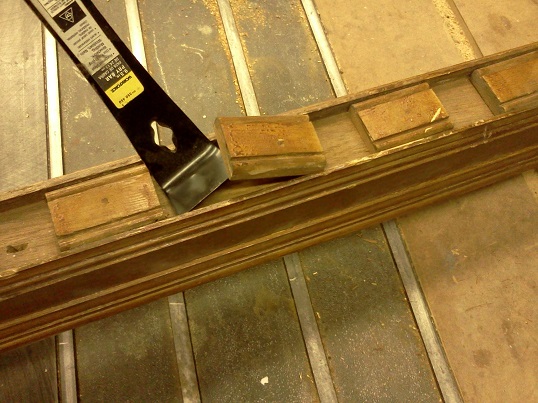
He also needed to recreate the fillet, or the unseen strip of wood that fits inside the bottom of the handrail between the balusters. The fillet pieces help ensure that the balusters stay evenly spaced apart. They aren’t always used, but they were in the original construction of this handrail and so David did his thing. Here he is removing the old fillet pieces from the handrail.
The next two images are of the replication process.


And this last photo is of him placing the new fillet pieces into the handrail to ensure they fit (he cut those long pieces into the smaller ones to allow space for the balusters when he assembled it back in place.)

OK, so whew! That was all step one, the handrail.
Onward to step two, the balusters. We only found a few of these in the basement with the handrail and those were in really sad shape and not salvageable. We needed 27 new ones to recreate the upstairs railing. Plus, there were a few along the handrail coming up the stairs and in the foyer that were broken or missing. All in all, we needed 31 balusters made. David started by cutting white oak to the proper length.

Then, he rough cut the blanks,

sawed them down more,

squared them off,

and made them true. Boom!

I’m not quite sure of the difference between squaring and truing, but after all of that, they were packaged up and taken to be turned into the same shape as the originals.

Below are a few photos of the turning process.
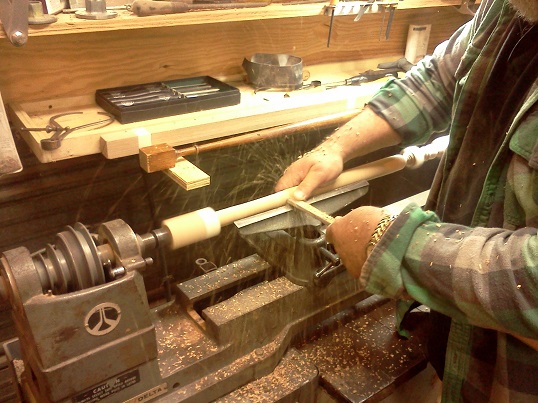


Note in the above photo he is comparing an old to a new baluster to determine what’s needed next. And below, a last double check to ensure all of them are of proper length, two in the shop and one on site.


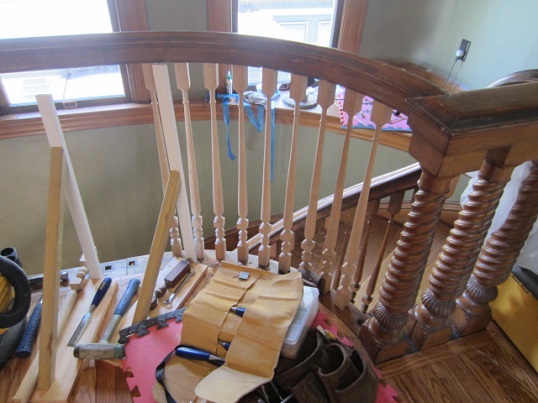
So voila! With handrail and balusters complete, they were installed and Rudy and Roxy were safely corralled. Here are a few photos of him in the process of placing them.


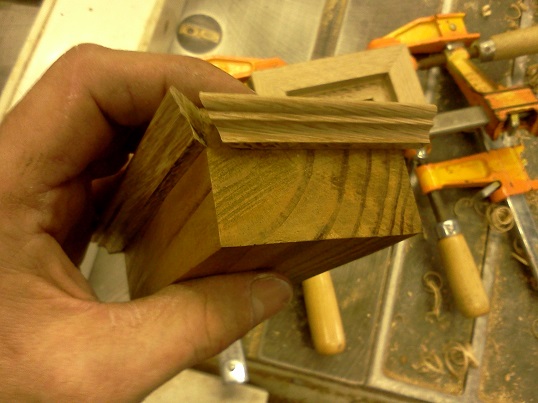
We’re done, right? Not quite. We still needed step three of this process, the half newel. Yeah, I didn’t know what a newel was either. For your vocab word of the day, a newel is the post that supports the handrail at its termination. The above photo shows the curved part of the handrail having been reattached to the newel. On the other end of that replaced handrail, the end that butts up against the wall, there was no newel. It had been removed and lost when the handrail was cut off. Since it ends in the wall, it only needed half of a newel rather than a whole one. Wow. Did you ever think you’d write a paragraph on newels? (For the record, Joel would like the record to show that he knew what a newel was before all of this hullabaloo.)
Speaking of hullabaloo…building a half newel is not a lickety-split endeavor. First David measured the existing newels on the staircase to get the design details.

Then he used some wood samples to measure the space needed for the half newel.
Then he disappeared to his workroom to create the base and cap of the newel.
He came back over to assemble the base in its spot.

Then returned a little later to place the cap.


A few days later with all solidly in place, the c-clamps were removed and the newel stood on its own. We were so proud of it!

OK, NOW we’re done with the banister, so feel free to come on over and ooh and ahh about our handrail and balusters. Take a look under at the fillets. And do not, under any circumstances forget to admire the unassuming and oft ignored half newel and give a nod to David’s meticulous craftsmanship.


