

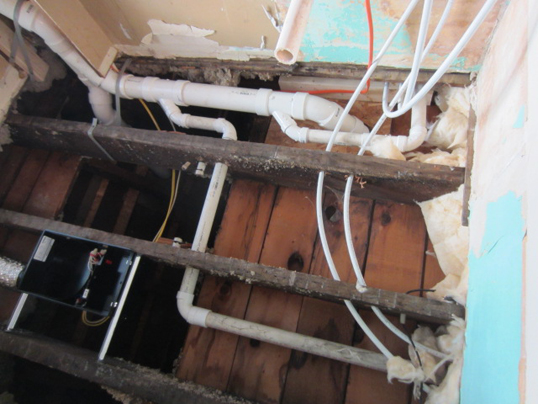
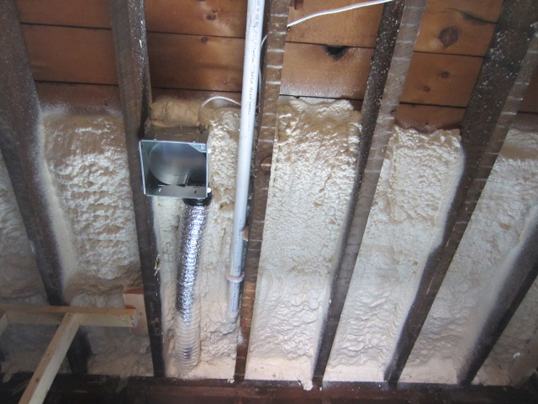
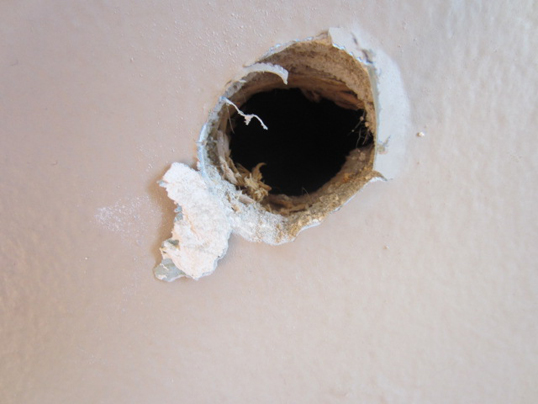
There have been a few stages of insulating this drafty old place to ensure that our pipes don’t freeze, our heating bills don’t preclude our ability to eat, and our risk of fire traveling wildly through open areas is lessened. This last one was a new thing for me. I had never heard of fire-draft insulation, but we got it in a big fat hurry prior to the framing inspection when we found out it was needed. It’s a light, foam-type of spray that fills all of the open cracks around pipes (see image above).
Other larger areas were stuffed with your basic pink foam sheets. I can’t for the life of me find a picture of that right now, but chances are you know what I’m talking about, yes?
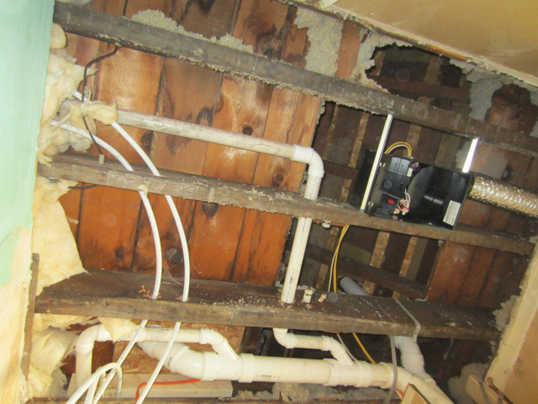
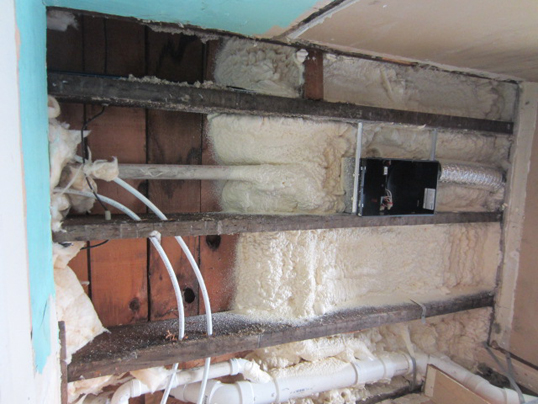
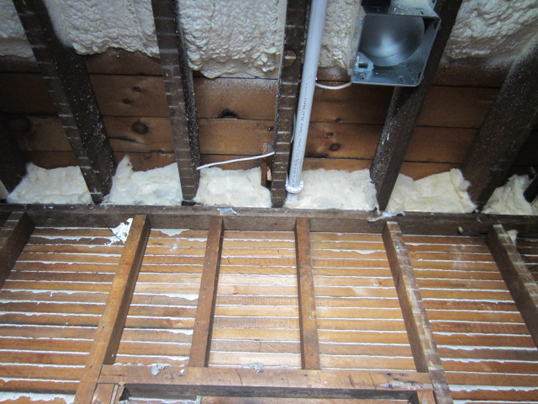
Then, after all of the inspectors had a chance to ogle at our beautiful pipes, we were able to do the foam insulation. We only had to do this in a couple of areas. One was in the ceiling of the second floor bathrooms. The plumbing pipes are for the attic above and thus run through the ceiling of this space. Due to design, the area above the pipes was not within the nice insulated area of the attic. Rather, it was right below an exposed attic dormer and thus cold air will reach it. Here are a couple of photos of the ceiling of pipes to give you a visual.
The area was covered with a strong cardboard base which would serve as stability for the foam.
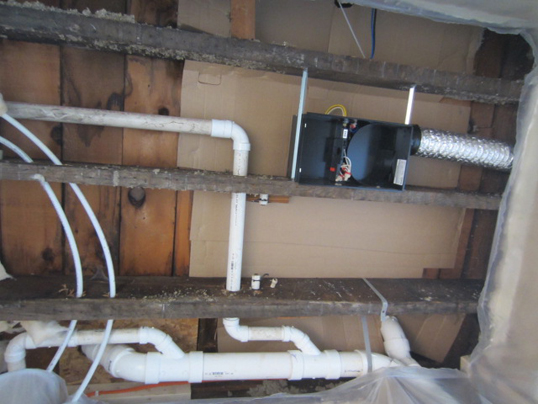
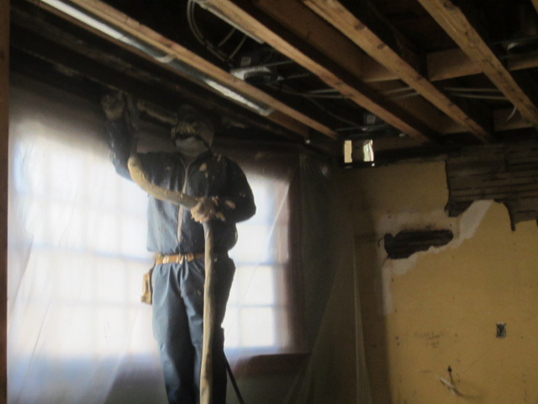
It’s a messy process, so the area was covered with plastic.
The chemicals are mixed together to form a thick, very hot foam. My request to watch (aka ‘videotape’) this step of the process was very politely denied as it is against code. After I saw how he had to suit up to do it I completely understood.
We all left the vicinity so he could work alone and when we returned the ceiling looked like this.
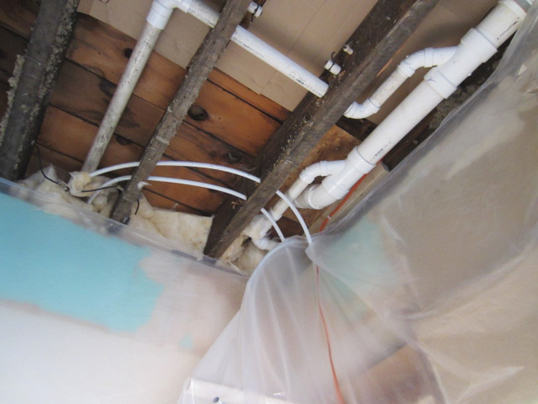
The same process was done in one strip of the kitchen where the top of the bay window sticks out unprotected from the elements and thus creates the potential for the bathroom pipes above to freeze. Before…
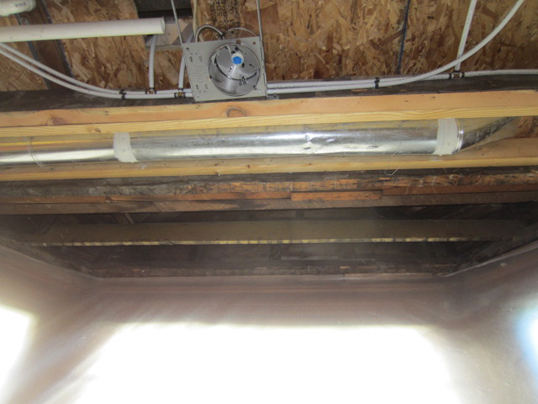
and after.
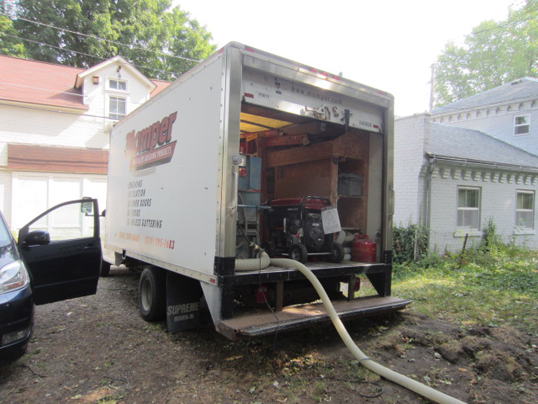
This brings us to the third and final layer of insulation. After the drywall was hung, the taping and mudding team graciously agreed to make a quick pass through to shore up all edges so our insulation could be blown in between the outside walls and the drywall. Not a drop of insulation has ever been applied to the outer walls of the house so she was pretty excited to have this extra layer of protection from the elements. This process is often done from the outside of a house, but since our walls were already in transition, we did it from the inside. The process is:
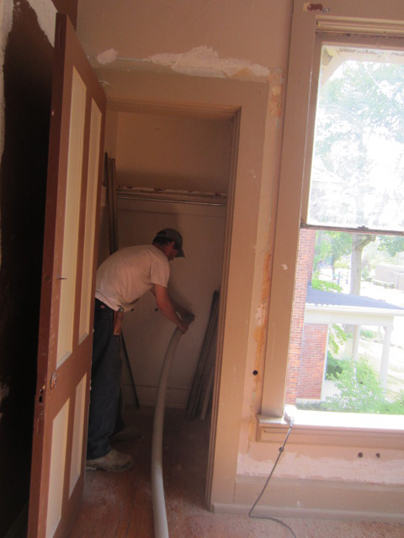
the big truck parks out back and its hose is run from the machine holding the fluffy goodness…
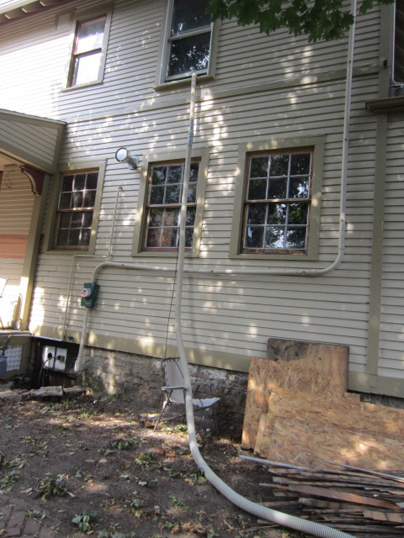
into the window of the house…
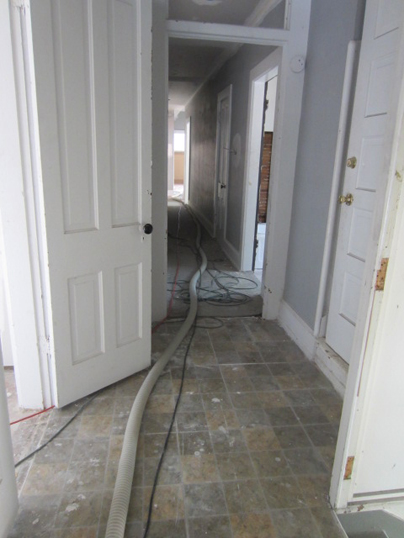
and down the hallway to reach the rooms.
Howard then moves room by room, wall by wall, and drills roughly 1” holes in two, sometimes three, lines.
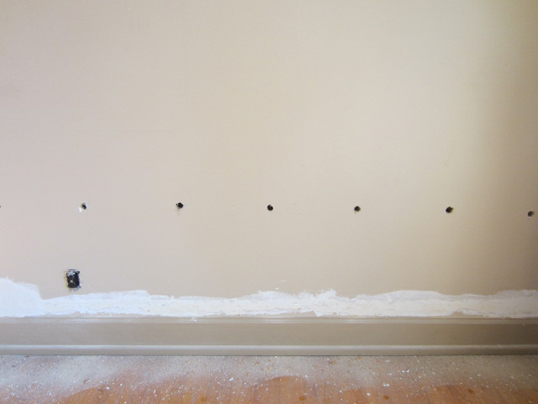
Then Colyn (with a ‘y’) comes behind him and puts the gas tank-like spout into each hole and turns it on.
The insulation falls into the space below and around the hole. When it’s full, the spout turns off just like a real gas tank spout does. Here is a short video showing this process.
(I should also mention that these guys – and the drywallers and window repair folks – were enduring 110 degree temps during all of this. They assured me they had experienced worse, but it was still miserable. Big thank you to their stamina!)
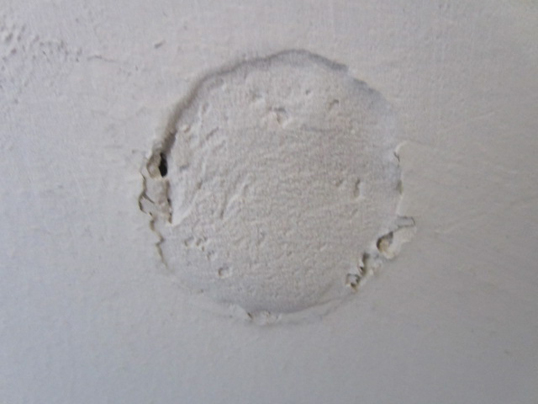
So here’s a filled hole.
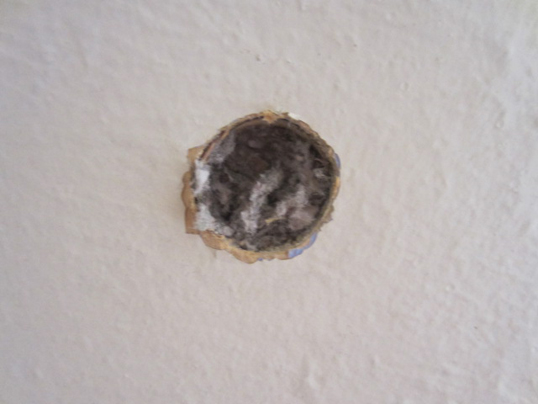
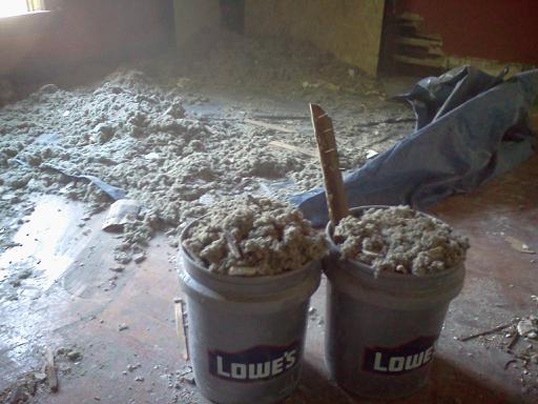
You can kind of see what the fluffy, grey insulation looks like, but in case you want a closer look, here it is all over the upstairs bedroom floor and loaded in buckets to cart out. When we knocked out the ceiling there several weeks ago it all fell out along with the plaster and lath. I like it much better neatly going into a wall rather than wildly falling out of it. By the way, it’s made of wood pulp. There, you learned something new.
After Howard and Colyn made their way through the entire house CREATING all of those holes, Vern and Frank the putty guys from the drywall crew came behind and FILLED all of those holes with putty. Seriously. I don’t know how all of these guys didn’t walk away with carpal tunnel.
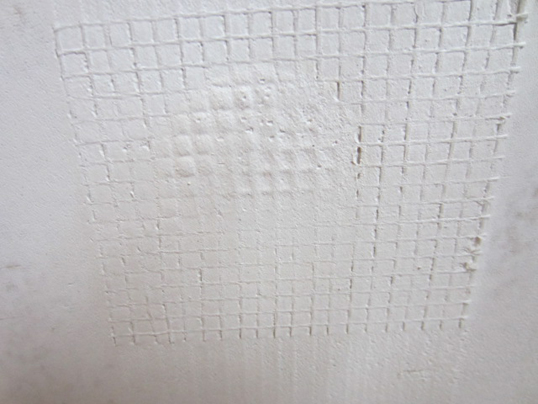
A small mesh square was put over the top of every single hole and a couple layers of drywall mud were spread over that.
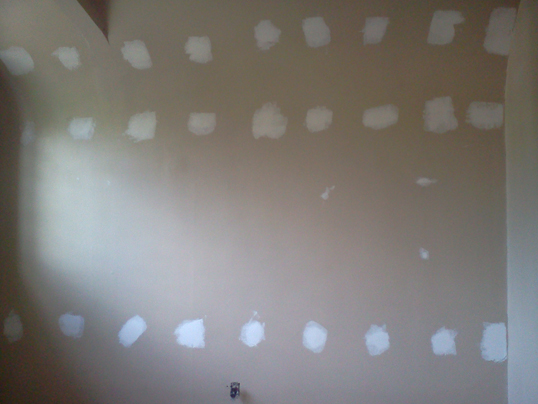
At this writing all of our exterior walls look like this. Amazing, yes?
I will think of all of these guys this winter when I’m toasty warm in my formerly-drafty home.


