
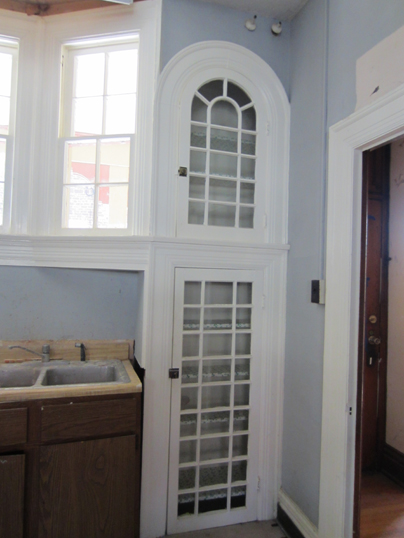
There’s nothing like a few loose ends getting tied up to spruce up the place and offer a little hope. A couple of those shifts brought us some new experts to add to our team. Paul Hurley refinishes woodwork. Hey, we have some of that! Remember that cute little hutch in the kitchen that was painted white along with its nearby door frame? This will refresh your memory and mine too! I hunted for these pictures and nearly fell over at how different the kitchen looks and feels from then until now.
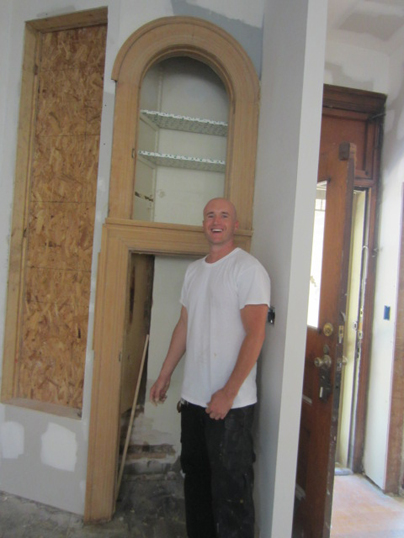
Here are a few photos and a video of Paul in the middle of the process. Paint is removed and staining on its way.
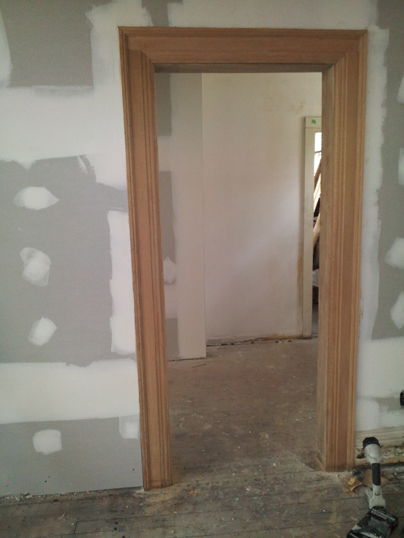

And here’s the finished product. Ta da!
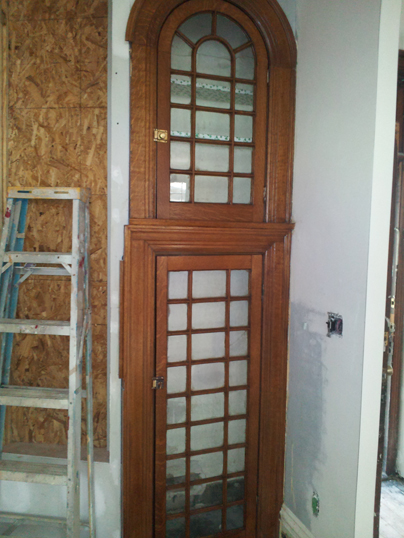
He did such a great job that we decided to give the upstairs woodwork a try to see how it looked. All of it is painted with about eight layers of color with the original stain showing up as the base. Paul did his same fab job, but we discovered that the woodwork which is poplar just didn’t hold the stain color well. Plus the wood itself wasn’t in the greatest condition having been drilled into several times over 100 years for window treatments and such. We had done sample spots here and there, but this whole shebang brought it all home. Here’s a glimpse:
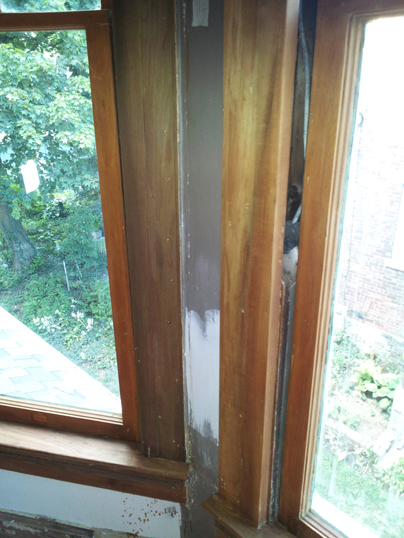
I still offer this seemingly bummer of an outcome in this ‘A Few Little Perks’ blog because it resolved a six-month discussion on what to do with the upstairs woodwork. I can’t tell you how much we waffled on whether to paint it or strip and stain it. Now there was simply no disputing it and we are very relieved, although poor Paul is still a little queasy at the thought of us adding paint to his 35 hours of hard work taking it all off of this triple window. Sorry, Paul.
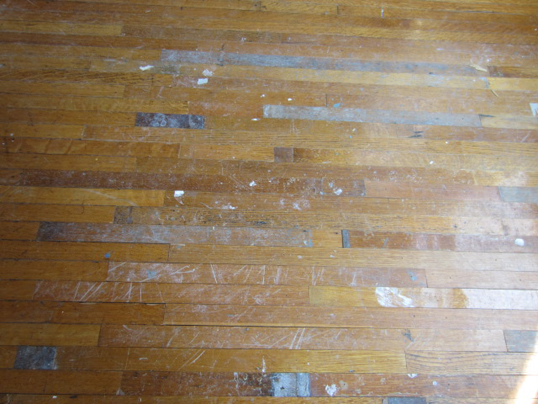
We also had another woodwork surprise. Do you remember the big holes in the dining room and living room floors? We think they were cold-air returns from a long-gone gravity heating system. They looked like this:
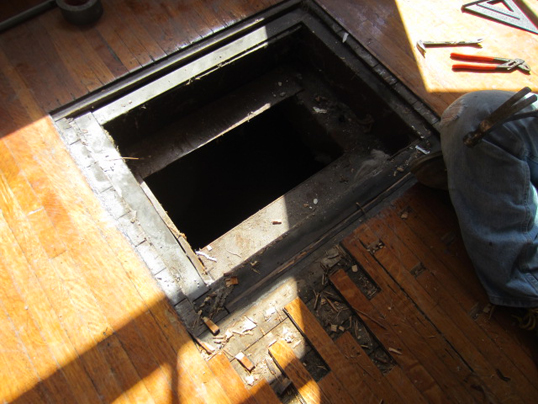
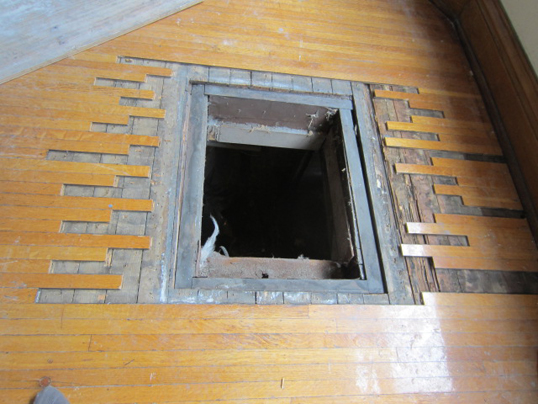
We’ve had them covered with a piece of plywood most of the time thus far because they’re roughly 2×3’ and thus large enough for someone to drop right through to the basement. That someone would have likely been me given my propensity to text, write, or talk on the phone while wandering around. So the experts from Castle Restorations came in to check them out as a precursor to their ultimate job of refinishing all of the wood floors. Unfortunately we didn’t have any salvaged pieces for the quarter sawn white oak that the floor is made from, so they purchased some new. The problem was that each new strip was 1/16” too narrow meaning when laid side by side would end up with a 1/8” gap between each strip. That’s just too big to be filled in we learned, so these brilliant folks took the wider oak strips we stripped and salvaged from the kitchen floor and cut them down to the proper size. I’m saying this with an incredulous voice and great emphasis so you understand that they cut them the LONG WAY down each strip and then carefully tapped them into place continuing with the same layout pattern that was originally laid. I tried not to hover too much during all of this, but I’m telling you it was a crafting job to behold.
Here are two during and then one after shot. Stay tuned for final wood floor refinishing pictures. My hunch is that those big holes will be a distant memory very soon.

Which brings me to another lovely surprise. We’ve always suspected that the upstairs hallway floor was in good shape, but the floor folks who did their magic above, pulled up the carpeting just to make sure there wasn’t going to be a bunch of prep work needed and lo and behold…
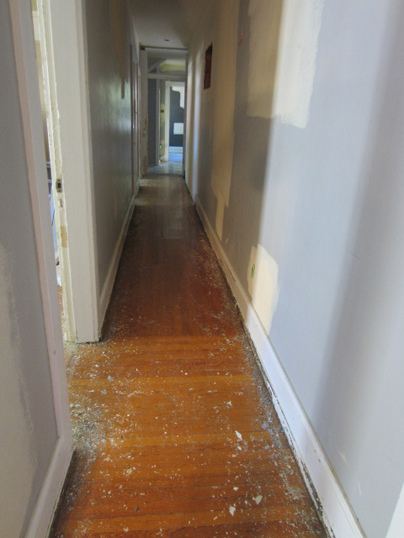
It is indeed in great shape. Stay tuned.
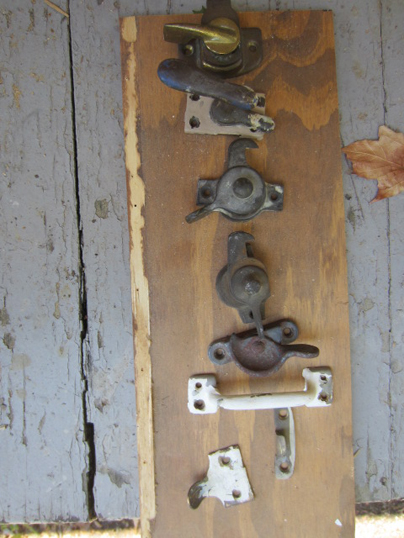
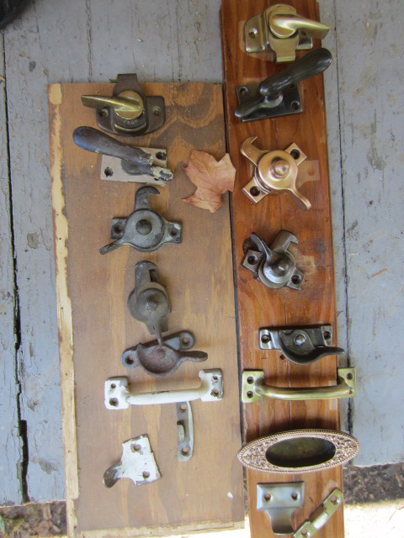
Now, this is just a little thing, but a perk nonetheless. You can imagine that over the years the hardware on all of the windows and doors was looking a little tired. We had heard that boiling that hardware in a crock pot with Ajax would take all tarnishing and paint and crud off. I did this with a couple of pieces and then I scrubbed them with an SOS pad and they turned out alright. (And no, I didn’t use the crock pot in my kitchen as we’ve been asked several times. I bought one at Goodwill for $5 so no worries about lead paint in my next pot roast.) I was happy with the results, yet daunted by the thought of our 65 windows and 25 doors and how long this was going to take to punch up all of the hardware. And then Paul, the magic hutch refinisher from above, came along and said, “You know, I can buff those on my brother’s machine in a minute and they’ll be good as new” to which I replied, “Yes, please and thank you.” So Paul took a sampling home to buff and returned them to show us and here’s what happened.
Before:
After:
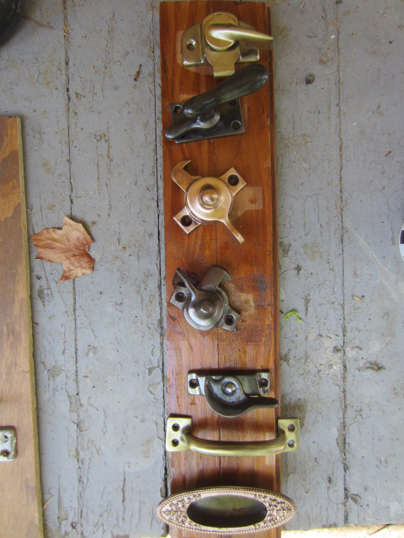
Before and after side by side:
Let’s say it together, “Yes, please and thank you, Paul.”
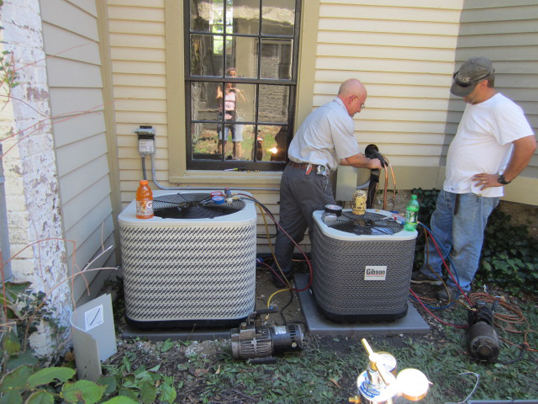
Last, but not least, air conditioning!! What a perk indeed! Here is a picture of our good old friends, Sean and Doug, hooking things up. They’ve been with us since the beginning so they don’t even flinch anymore at getting their picture taken. There are two a/c units. The larger one is for the first and second floors and the smaller one is for the attic. These came just in time for the painters to get a little relief when starting up in the stifling attic this past week. What’s that you ask? You’re painting? Ahhh…hang in there. Pictures of paint are coming very soon.