

Having been given the inspectors’ green lights to march on, drywall became the next order of business. I’m not going to lie. This was a little sad for me. I had gotten quite attached to admiring all of those shiny ducts and new electrical wires and of course, those gorgeous new pipes. Call me crazy if you’d like, but the weeks of watching the experts carefully put everything into its new space were pretty interesting and to see all of their hard work go behind the scenes was a bit tough. Add to that how comfortable all of us had gotten with walking through framed openings rather than using the proper paths through real doors and just maybe you can understand why I wasn’t all over the idea of drywall. BUT I pressed on since I knew that someday we needed to live in this space and I was getting pretty tired of soot-covered messes.
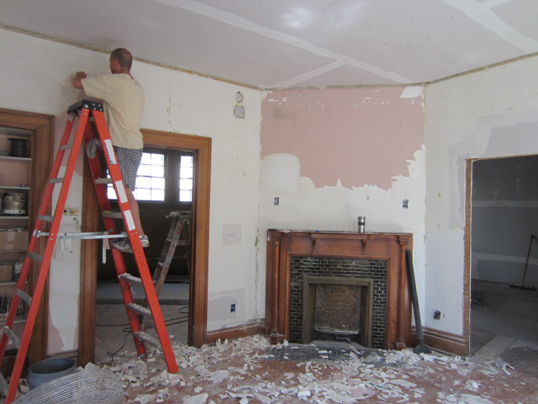
There was a bit of last-minute prep for hanging the drywall. One more plaster wall was deemed too unstable to handle the rigors of having things nailed to it so we knocked it down. A last hurrah of tear down! This is the arched doorway between the kitchen and dining room.
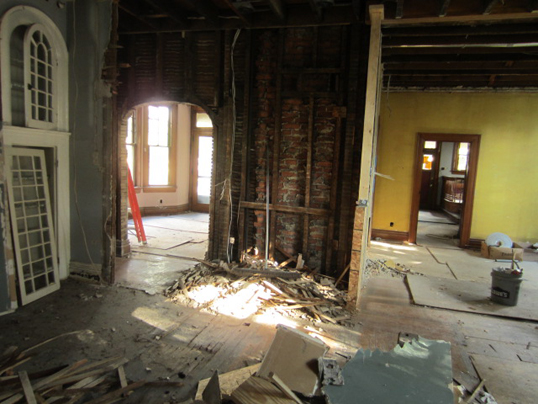
The plaster above it was too loose and so we knocked it all the way down.
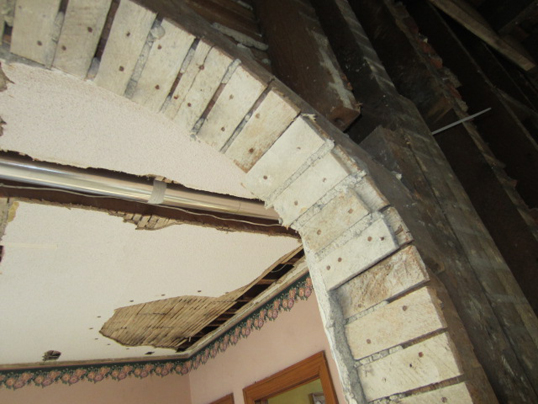
The lath inside the framed opening was really cool, but it also explained why the plaster had been so uneven and ultimately unstable – just too many uneven edges.
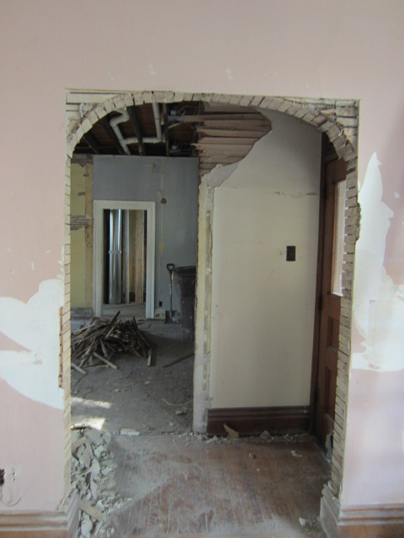
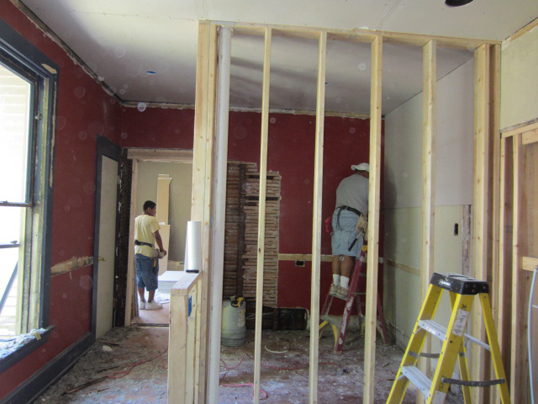
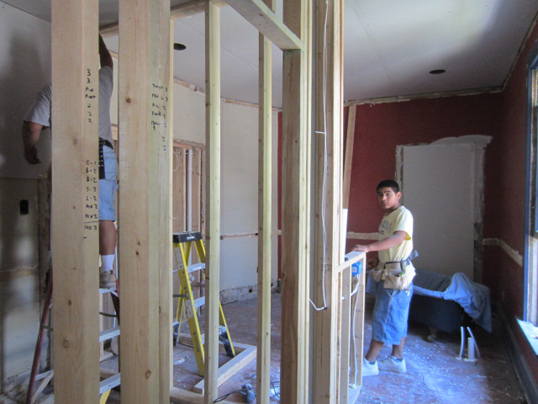
Since there isn’t another arched doorway anywhere else in the house, we decided to make it a square opening which will ultimately be cased with woodwork. This is a photo of the other side of it framed and ready for drywall.
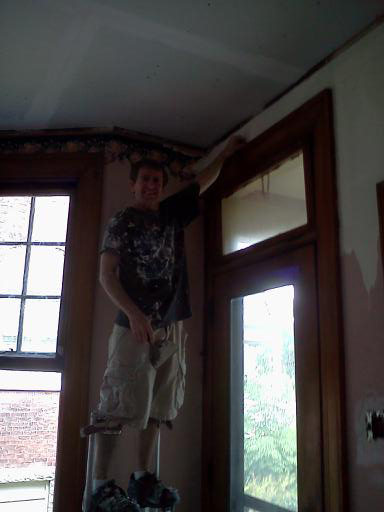
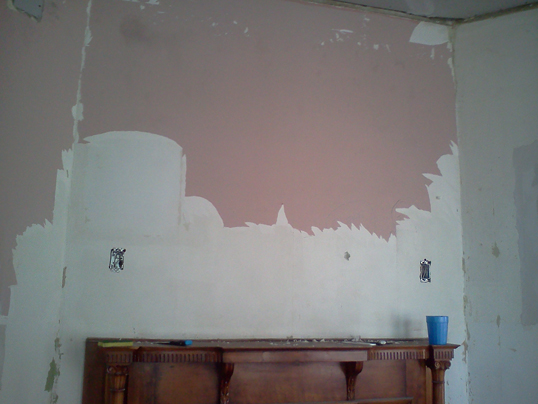
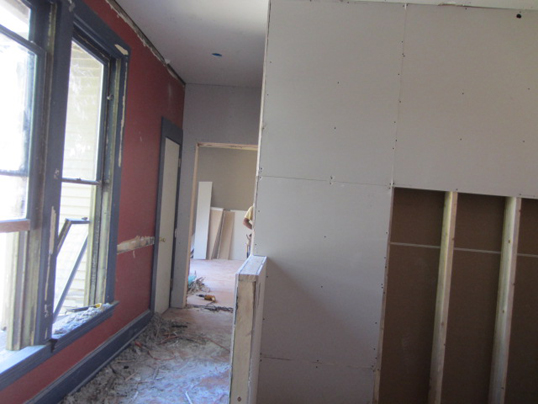
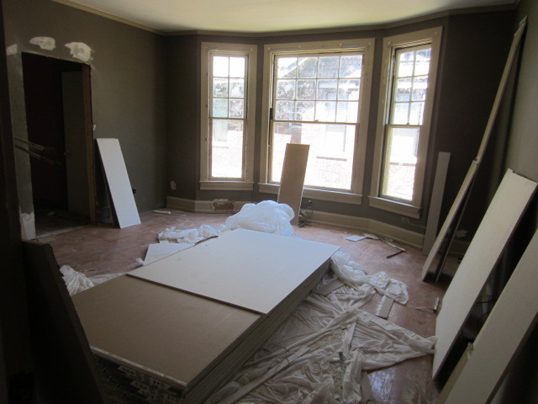
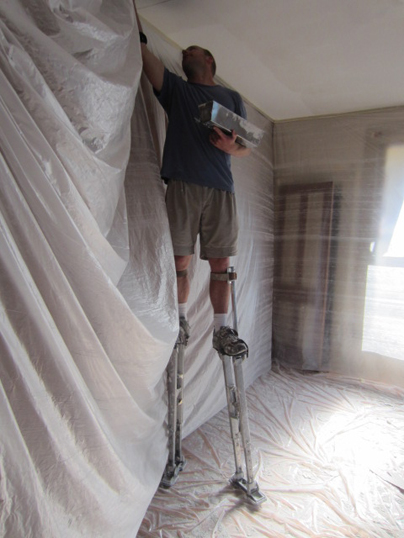
Well, almost ready which brings us to another area of prep that needed to happen. The drywall mudders and tapers started to do their work in the dining room and discovered that those walls were painted wallpaper which was not very smooth and would ultimately cause us troubles down the road. It needed to come down. I have to admit that I knew it was wallpaper in there, but ignored its implication hoping all would be well. Not to be. We had to hurry and take it down so they could continue with their work. ‘Hurry’ meaning we started right away and then finished five days later. The entire time I was scraping I thought, “Hmmm…I wonder who I could call to help me” so consider yourselves lucky that you didn’t get a phone call! And when Frank, the drywall mudder/taper gave me tips and mentioned how much he loved doing it, I asked how I could hire him to help when he already worked for us. Can you say Tom Sawyer? Frank did stay past his shift one of the days and got a wall done on his stilts. Thanks, Frank!!
Other exciting wallpaper removal photos.
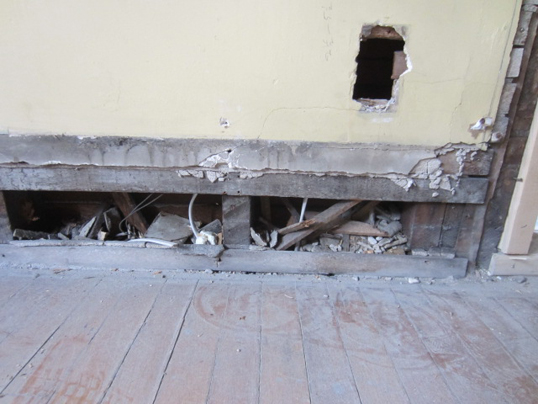
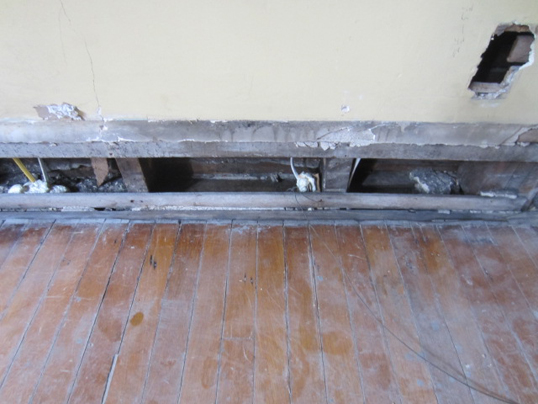
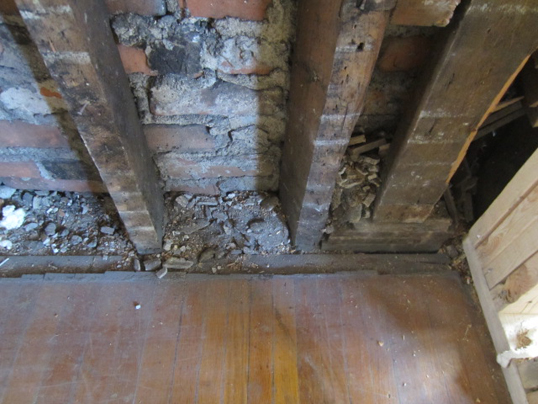
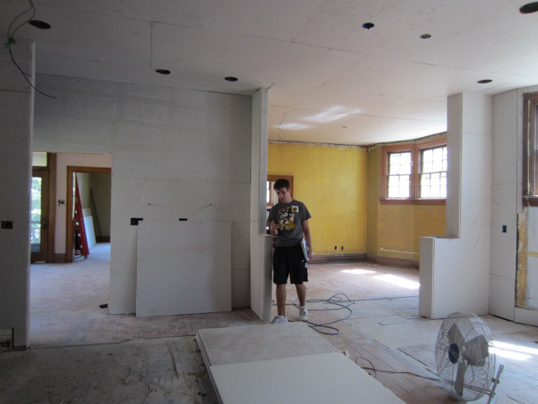
We also felt compelled to clean out the open areas as much as we possibly could in prep for closing up the walls with drywall. Many people told us we could just as easily drywall over it all and nobody would be the wiser, but since I’ve already mentioned how much we loved our open spaces, we decided to clean them out. Here is a before picture of a kitchen wall with LOTS of plaster crumbles inside.
And here it is after cleanup. Doesn’t that feel much better?
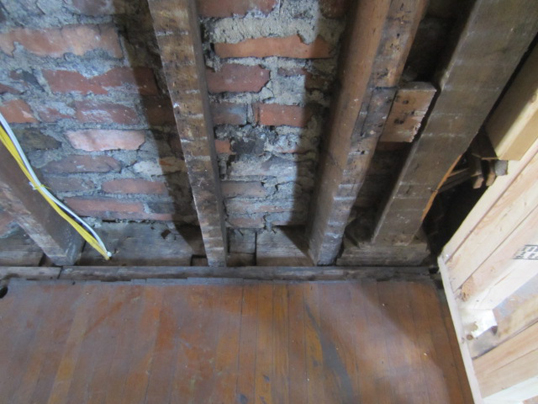
Another before and after of an area cleaned out.
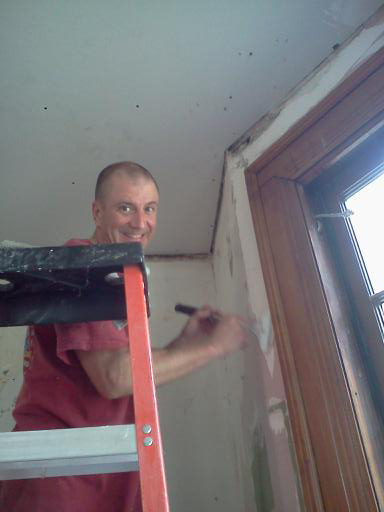
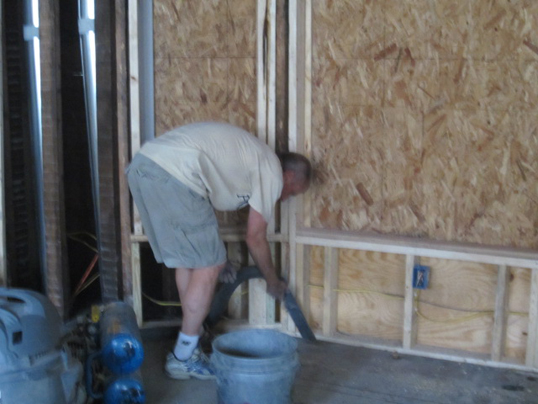
And one of me in action knocking from the top down to get all ledges clean.
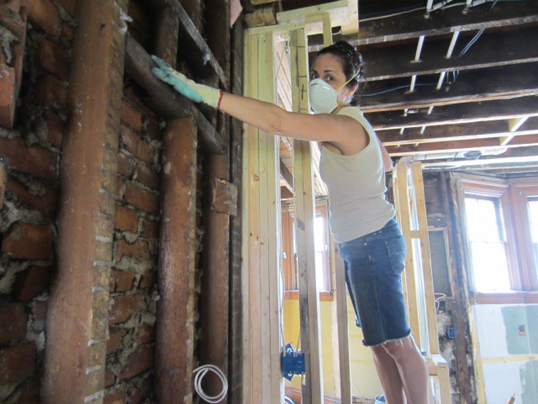
Joel would follow with the shop vac. Joel loves to vacuum so this was a real treat for him. I am not joking. This was truly a great day for Joel.
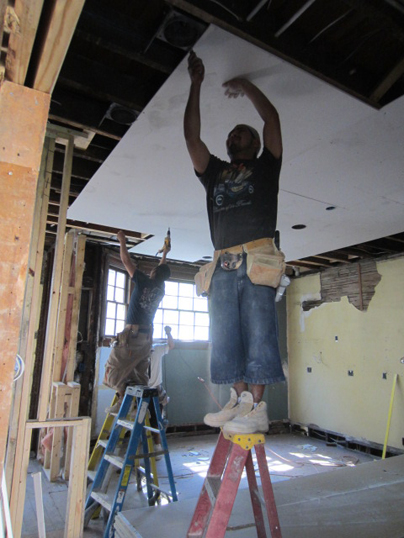
The hanging of the drywall happened in about 30 seconds. As often as I’ve heard this, I cannot believe how quickly this process happens. Here is a picture of the team hanging a ceiling piece in the kitchen. It was wild to watch how quickly they measured, cut, and attached each piece with barely a need to speak a word.
To try and illustrate this, here are three consecutive short videos of them doing a piece – one, two, and three.
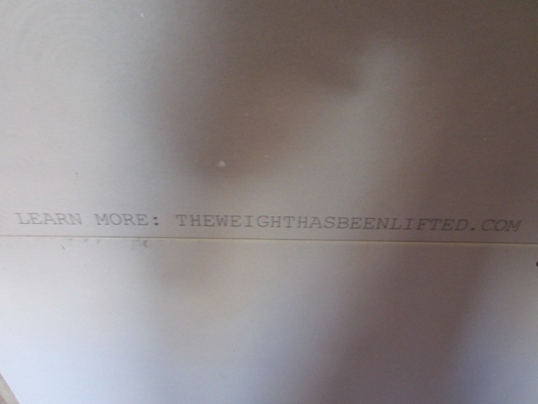
Considering that I could barely lift one end of a sheet of drywall to slide it over, I thought this was remarkable. The saying stamped on each piece of drywall says it all:
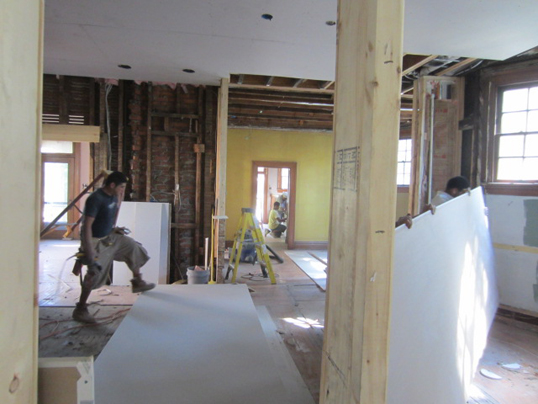
Here is an in-process photo of them doing the kitchen.
And here is a pic of it done.
This continued all over the house. The attic chase before and then after with Drew standing in front of it since this is his bedroom and he loves to be photographed.


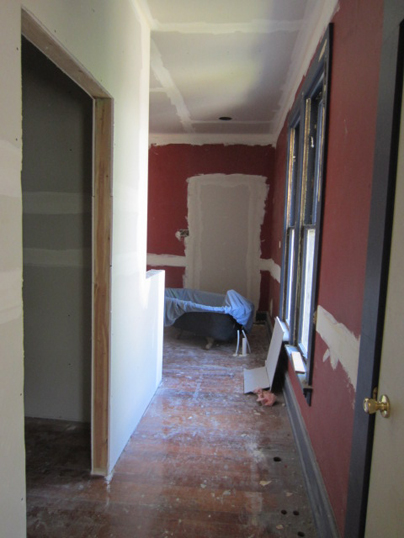
The bedroom-now-master-bathroom from one angle before and after.
And from the other side before and after.
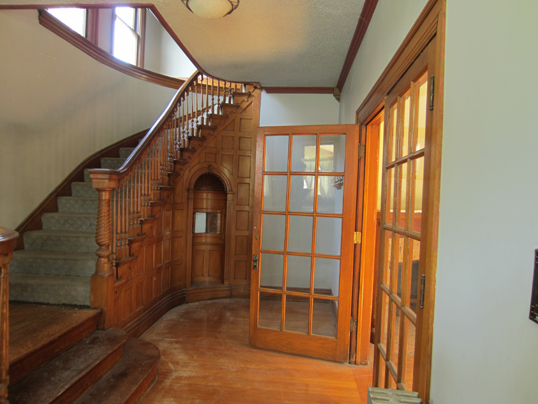
The foyer before and after.

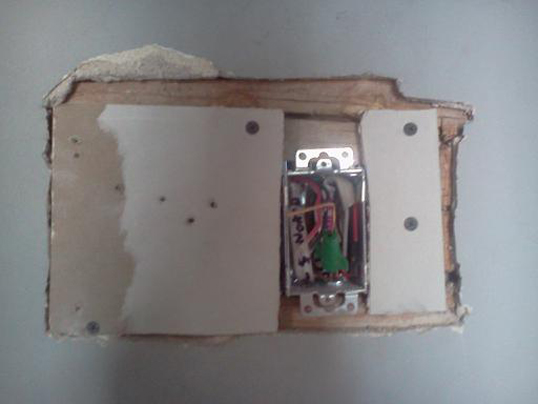
And littler stuff like patching holes, either mistakenly cut or already existing.
The piles of drywall disappeared very quickly.
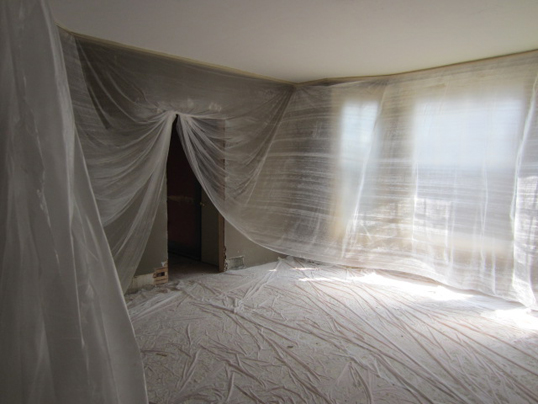
We had a few popcorn ceilings that needed to be scraped down and then mudded over so they could be primed and painted again. Here’s some prep for it since it’s pretty messy.
And a photo of Matt killing his neck while he applies one of three layers of mud after scraping.
As I write this, taping and mudding continue. Three layers of mud on every corner (an ‘angle’ in drywallers’ terms), hole, and edge with tape and/or mesh thrown in for good measure adds up to lots of hours logged. Once done, sanding will occur which I’m told takes one day with a vacuum sander. Stay tuned.


